It's usual for us Embedded System Engineers to rely solely upon an IDE provided by the Silicon Vendor to Write the code, compile, Flash, and Debug the target Microcontroller. For Example, While developing Application firmware for STM32 Microcontrollers, The Choice of STM Cube IDE is the defacto. Using the IDE we can do all the required operations but Have you ever thought of moving from IDE to a Command line-based compilation process? In this short blog Post, we will find how we can move into such a mechanism and experience how this would bring new autonomy to our embedded development pipeline.

Moving From IDE to CMD Line can bring a number of benefits to our overall project development process. Such as
- Build commands can be wrapped into a bash script
- Faster Build Cycle by using all processor threads
- Ability to include Unit test step in the build process
- Prepares the Base Framework for arranging a CI / CD pipeline
- Invoke Build Process on a new Git Commit push.
- No need to depend on the IDE buttons anymore.
- Avoiding Manual Labours
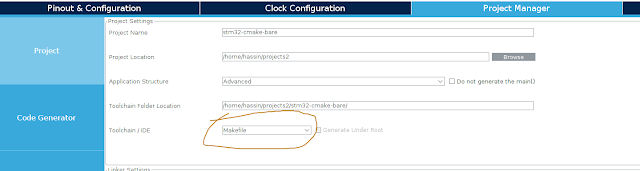
While using STM32 Cube IDE for the first phase of project Initialization, you have probably noticed that STM32CubeIDE can also Generate a Makefile for your project. Well, Once you have configured initial MCU settings such as GPIO, Clock, and different peripherals & have generated the Make File, from that point onwards you can move on to using the the command line only to build/compile your firmware. First I am going to show you how to set up an STM32 MCU project from the beginning to compile it in a bare-metal command line console depending on the Makefile
Download https://www.st.com/en/development-tools/stm32cubemx.html
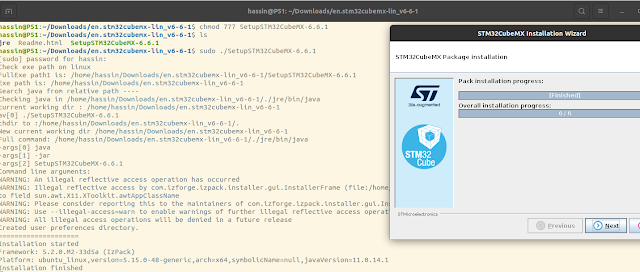
Start CubeMX by Running the following command
hassin@P51:/usr/local/STMicroelectronics/STM32Cube/STM32CubeMX$ ./STM32CubeMX
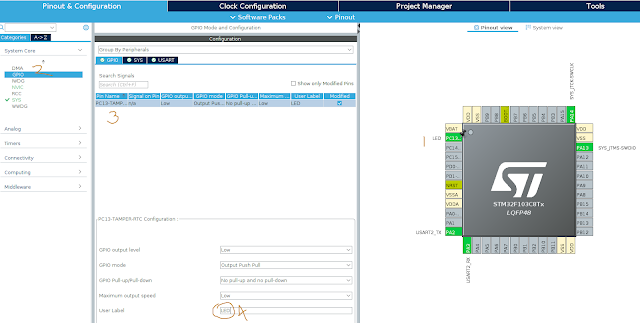
Create a new project and Start Configuring using the IDE
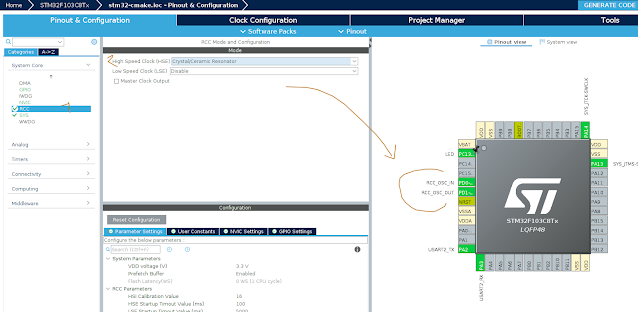
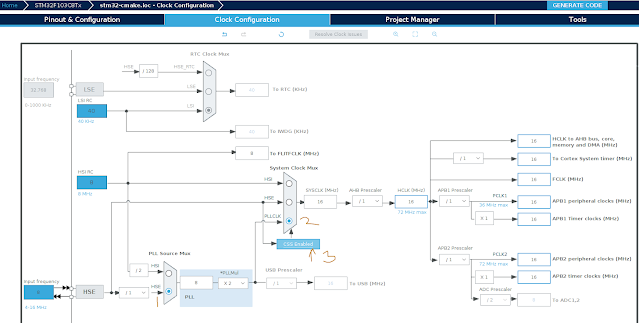
First, we configure the Clocks
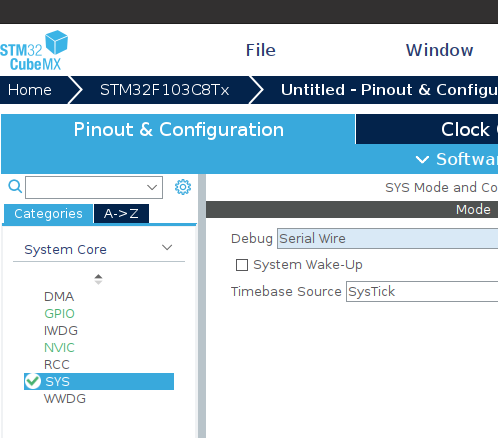
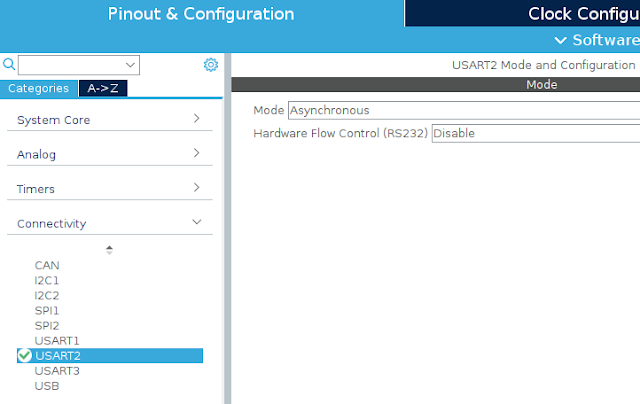
Then We Configure the Peripherals such as USART